How to Grow and Protect Spring Bulbs

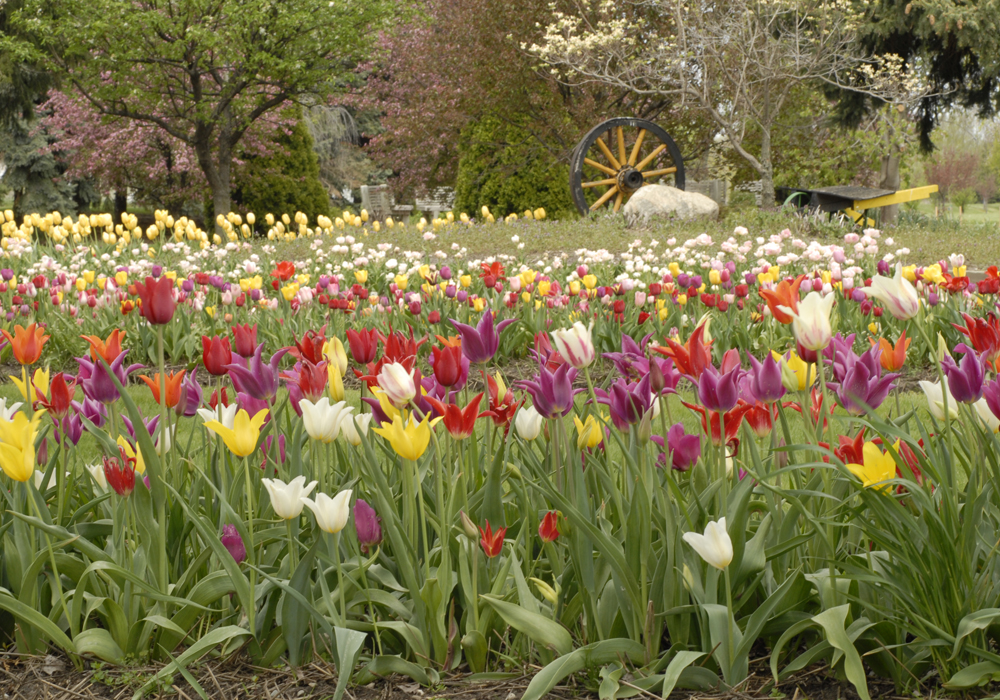
When winter finally releases its firm grasp, the first signs of regrowth in the garden are often spring flowering bulbs like crocus and tulips. Even the slightest bit of green peeking up from the moist soil can make our spirits soar.
Rest assured, you aren’t the only one who is excited to see fresh new growth. Hungry rabbits and baby bunnies are equally thrilled and they are ready to move in to have themselves a nice snack of spring greens. That’s why it is so important to be ready to ward them off as soon as the snow melts and plants begin to re-emerge. Have your Plantskydd already ordered and delivered by late winter so you’ll be ready.
Starting Materials
- Spring flowering bulbs like tulips, hyacinths, crocus, scilla, daffodils, Dutch iris, and allium
- Bulb food like Espoma’s Bulb-tone®
- Plantskydd liquid formula
- Plantskydd granular formula
Planting Spring Bulbs
If you’d like to have beautifully blooming tulips and other colorful bulbs in the spring, the time to plant them is the fall prior. They need that cold resting period of 12 to 16 weeks in the wintertime to be able to re-emerge and bloom properly the following spring. Garden centers, home improvement stores, and bulb catalogs offer these types of bulbs in the fall.
Around the month of October or about six weeks before the ground freezes is the best time to plant your spring flowering bulbs. This is a time when squirrels and chipmunks are actively seeking food to store away for the winter, so you’ll need to take steps to deter them from stealing your bulbs. Here are a few ways to accomplish that:
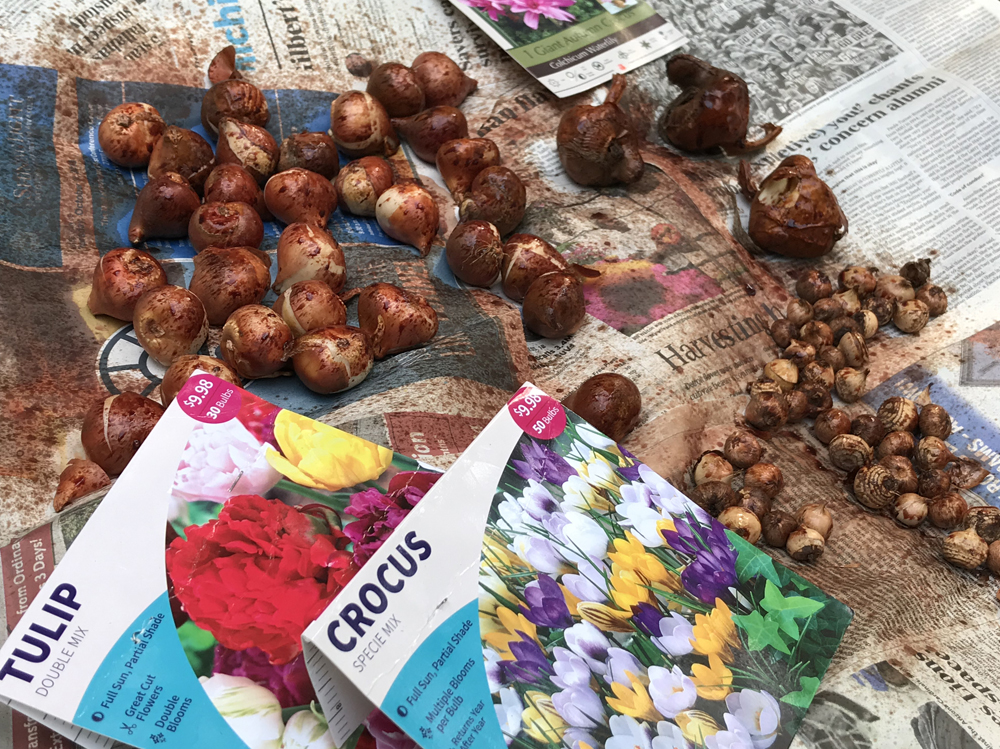
- Lay your newly purchased bulbs out on a sheet of newspaper on your lawn. Use the liquid Plantskydd formula to spray your bulbs thoroughly. Let them dry for 24 hours before planting.
- Dig the holes for your bulbs to the depth specified on the package, then add some bulb food into the hole. You don’t want to set your bulbs right on top of the fertilizer, so sprinkle a little more soil on top of it or mix the fertilizer into the soil at the bottom of the hole. Then, add your bulbs, making sure the pointed side is facing up.
- After planting your bulbs, do not leave evidence behind. Pick up any of the “skins” of the bulbs that might have dropped on the ground while you were planting so the critters don’t smell them. They are a sure giveaway that you’ve just planted something delicious nearby.
- Tamp down the soil firmly after you plant your bulbs, then sprinkle it with granular Plantskydd. Cover the area with shredded leaves so it’s not obvious that you’ve just disturbed the soil.
- If you have a terrible time with voles, consider planting your bulbs in wire mesh cages. You can make your own using ½” hardware cloth and a pair of plyers. This physical barrier is sometimes the only thing that keeps the most determined creatures out.
Protecting Your Bulbs in Early Spring
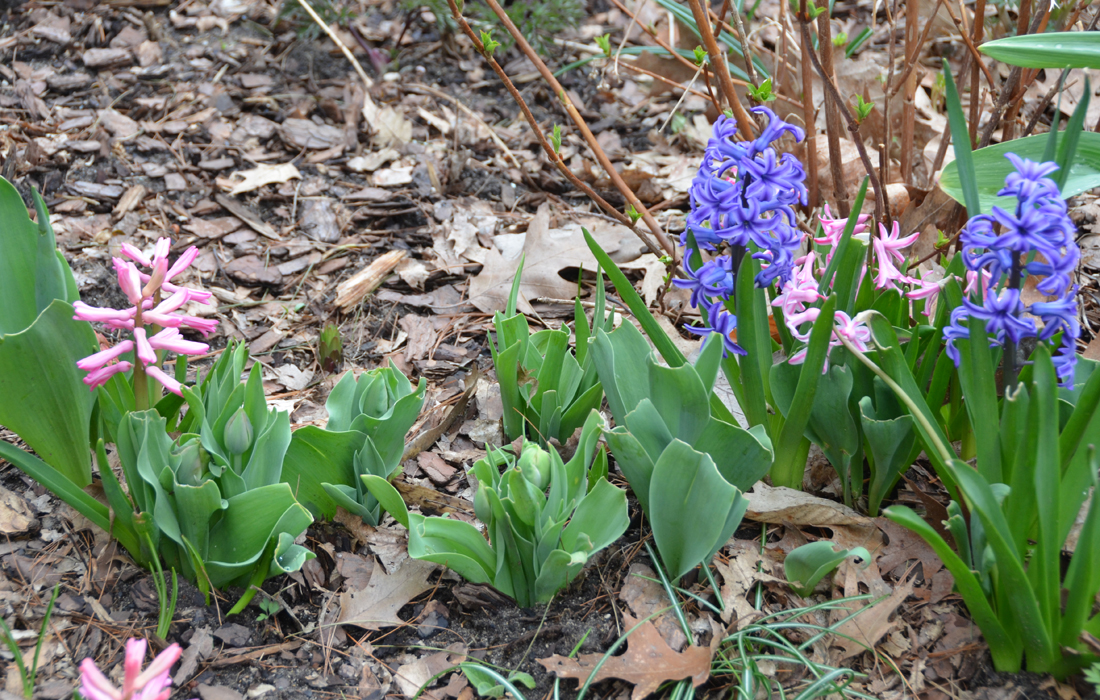
You’ll want to start protecting your bulbs at the first sign of reemergence in spring. They grow very quickly and are immediate targets for hungry critters like rabbits, chipmunks, and deer. You can see in this picture how rabbits had eaten these tulips’ leaves early in the spring before the flower buds had begun to develop. That’s because repellent wasn’t applied early enough in the season. After it was applied, the browsing stopped, and the flower buds were left untouched.
Early in the spring, sprinkle granular Plantskydd all around where your bulbs are planted, and if no rain is in the forecast for the next day or two, wet the repellent down to activate it. You won’t detect much of an odor, but the animals will and that’s what is important. Plantskydd is a scent-based deterrent that smells like a danger to animals, warding them off before they sample your plants.
Newborn bunnies are still developing their sense of smell early in the spring when bulbs are emerging. If there are newborn bunnies in your garden, an extra measure of protection is helpful. One easy, cost-effective solution to try in addition to using Plantskydd is to sprinkle cayenne pepper or brewed coffee grounds around your plants. The bunnies won’t like the spicy smell of cayenne or the taste of coffee. So, you can sit back and enjoy a cuppa without worrying if Thumper is eating your fresh shoots.
Protecting Your Bulbs as They Grow and Bloom
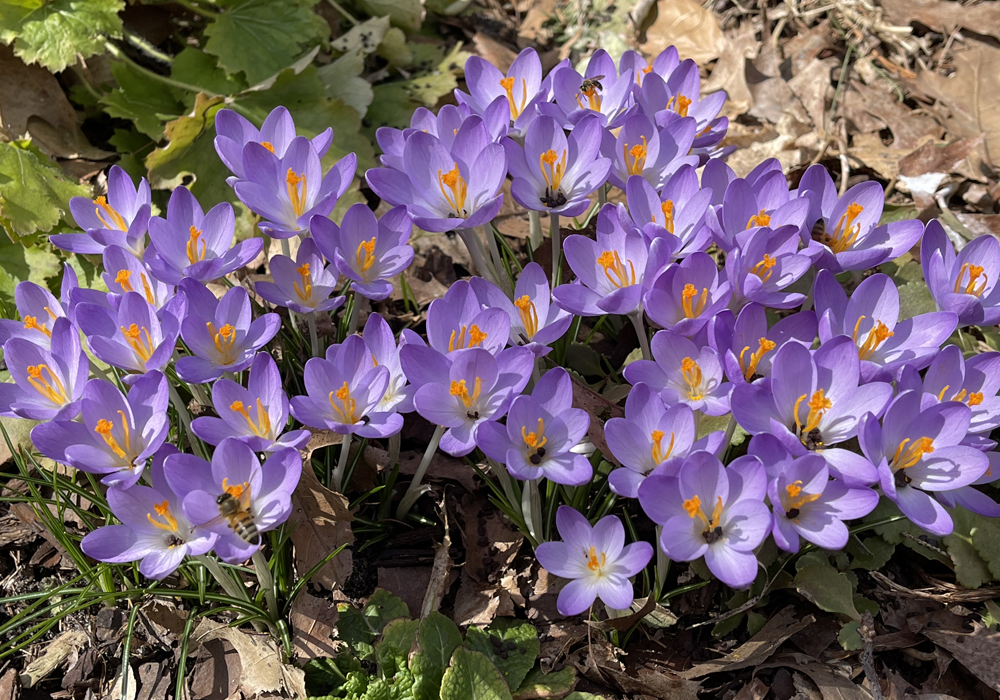
I prefer to be extra cautious and use Plantskydd a few more times as my bulbs grow and bloom. After all, I worked so hard to plant them and have waited eight months to see them bloom. As soon as I see buds developing on my crocuses and other minor bulbs, I spray them with liquid Plantskydd using the fine mist setting. You will hardly even notice the repellent is there. Its color will fade after a week or so, but it will continue to do its job even when you can’t see it.
In this photo, you can see early foraging bees enjoying the crocus blooms. Look closer and you may notice tiny granules of Plantskydd in the center of a few flowers. Using repellent doesn’t just ensure you’ll get to enjoy your spring flowers—it ensures that pollinators will, too, and that’s good for everyone.
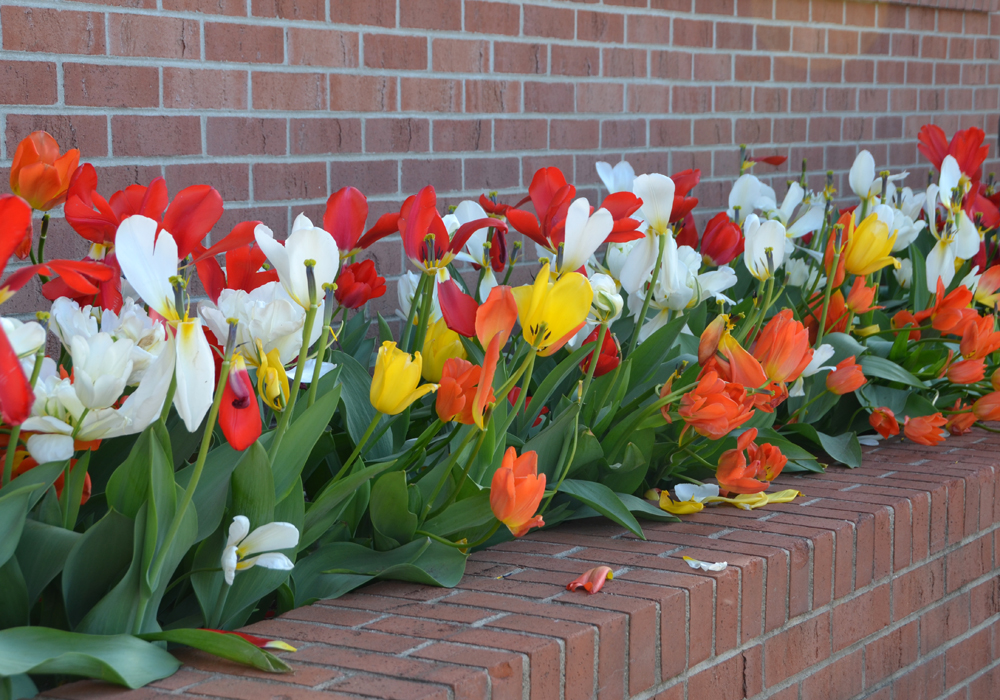
I repeat this same task to protect my tulips when they reach about 6 inches tall and then once more when they are fully grown and about to open their flower buds. By this time, I’m not as worried about rabbits as I am about squirrels and deer who love the taste of fresh tulip petals. By using liquid Plantskydd, I’m able to get the scent of the product right up on the flowers so when the critters go to stick their nose into them, they won’t want to take that first bite.
What to Do with Bulbs After They Bloom
Hooray! You’ve successfully brought your bulbs through the most dangerous browsing season and enjoyed their spring flower show. Congratulations! Now, what’s next?
If you live someplace warm where your bulbs needed to be pre-chilled before planting, you can either dig and toss them to start over with new bulbs next fall or try to chill them again yourself. To accomplish the latter, wait until the bulb foliage has turned brown, then gently dig the bulbs back up. Knock the soil off, remove the foliage, and lay the bulbs in a crate or cardboard box to let them dry completely. Pre-chill them again for about 12 to 16 weeks before it’s time to replant in the fall.
If you live where winters are cold enough to leave bulbs in the ground year-round, it’s a much easier process. Simply wait until the bulb foliage turns brown and then gently tug at it to remove it. If you feel resistance, it’s not ready to be removed yet. In the fall, sprinkle more bulb food in the areas where your bulbs are planted to help them bulk up again to bloom the following spring. In early winter, before the snow arrives, it’s a good idea to sprinkle granular Plantskydd over the soil once more to help deter voles from the area during the winter months.
So, if you love spring blooming bulbs but have been worried about the critters ruining your plants, now you have a solid plan on how to grow and protect them successfully. We can coexist with deer, rabbits, and others in our gardens. We just need to show them where it’s not acceptable to find their meals by redirecting them with Plantskydd animal repellent.
Images in this article courtesy of Susan Martin @Gardener Sue’s News.


